Organizing your memories photo album might seem like a daunting task, especially if you have a large collection of photographs. However, with the right approach and a bit of time, you can create an organized and meaningful memories photo album that preserves your memories for years to come. Here’s the ultimate guide to help you get started.
Step 1: Gather Your Photos
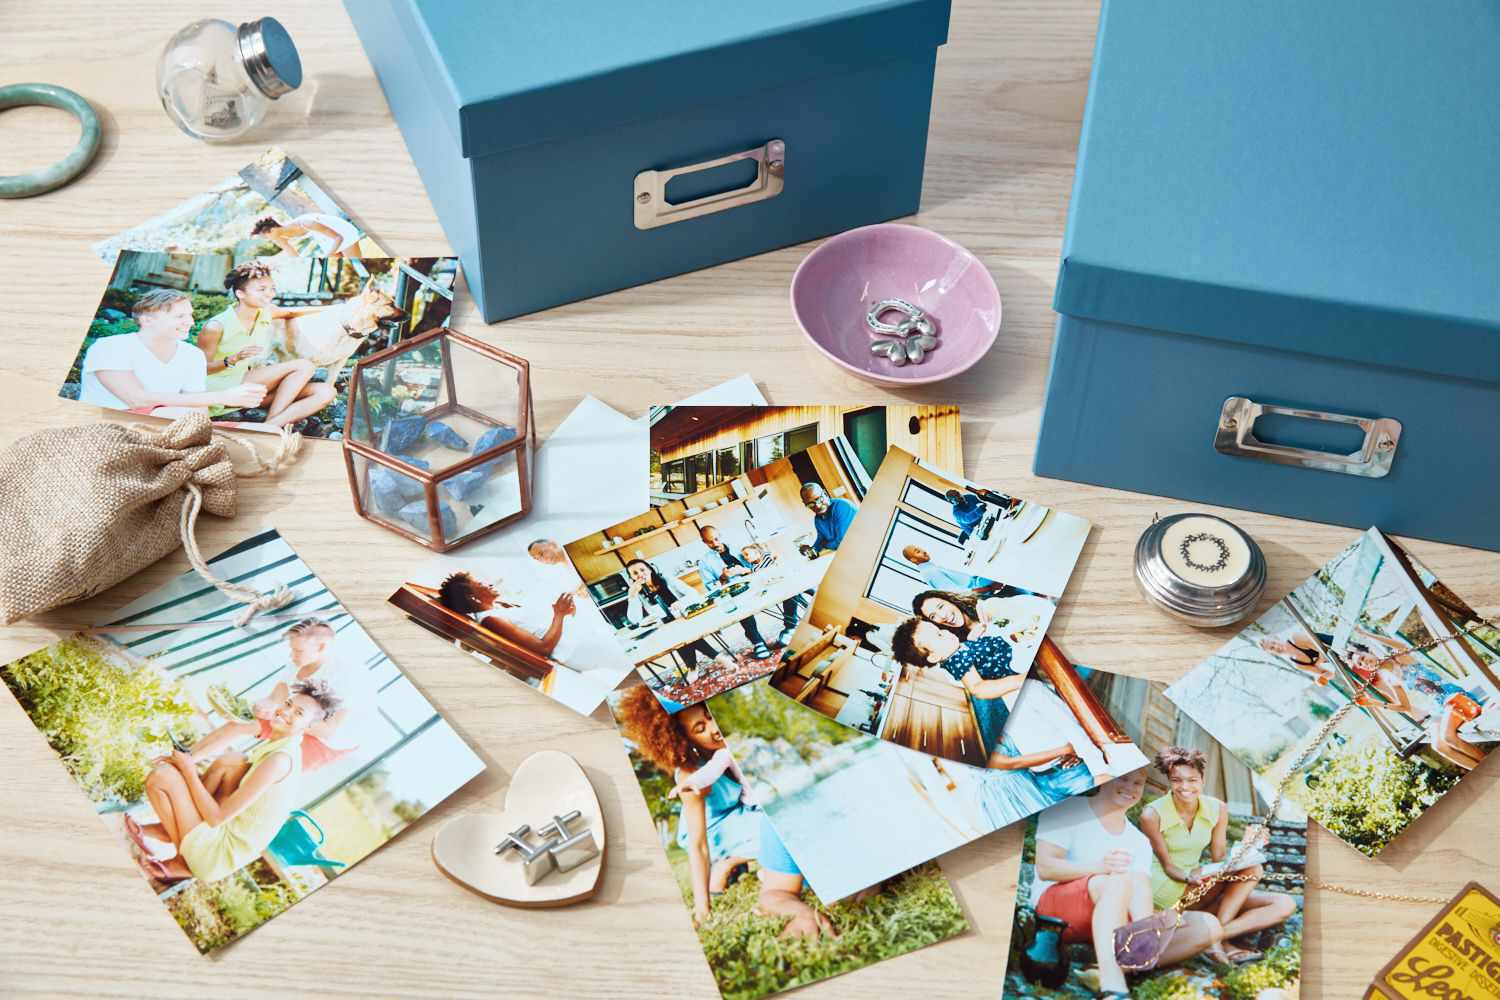
Begin by collecting all your photos from various sources such as digital devices, prints, and old albums. Create a central location where you can sort through them easily. This might be a table or a clear workspace. Once gathered, separate them into categories such as family, vacations, special events, and so on.
Step 2: Declutter and Select
Not all photos are worth keeping. Take some time to go through each photo and select the ones that hold sentimental value or have a special significance. You can discard duplicates, blurry photos, and images with no relevance. Remember, quality over quantity is key here.
Step 3: Choose an Album
Select an album that suits your preferences and needs. You can opt for traditional physical albums or digital ones, depending on your preference. Physical albums offer a tangible way to flip through memories, while digital albums provide easy storage and sharing options. Make sure the album is of good quality to protect your photos.
Step 4: Organise by Theme or Chronology
Decide on a method to organise your photos. You can arrange them chronologically, starting from the earliest to the most recent, or by themes such as family, vacations, birthdays, and holidays. Whichever method you choose, ensure consistency throughout the album.
Step 5: Label and Caption
Add labels and captions to your photos to provide context and details. Include names, dates, locations, and any relevant anecdotes. This not only helps you remember the story behind each photo but also assists future generations in understanding their significance.
Step 6: Consider Digital Options
If you’re creating a digital photo album, take advantage of digital tools to enhance your photos. You can edit them to improve lighting, remove red eyes, or even apply filters for a consistent look. However, be cautious not to over-edit and lose the authenticity of the moment.
Step 7: Create a Backup
Backing up your photos is crucial to ensure they’re safe from loss or damage. For physical albums, consider making duplicates and storing them in a separate location. For digital albums, use cloud storage services or external hard drives to create backups regularly.
Step 8: Share Your Memories
Share your memories photo album with loved ones to spread joy and nostalgia. You can host a viewing party for physical albums or share digital albums online through social media platforms or email. Sharing your memories not only strengthens your bonds but also allows others to relive those precious moments with you.
Step 9: Maintain and Update Regularly
Keep your memories photo album organised by maintaining it regularly. Add new photos as they come and remove any duplicates or irrelevant images. Updating your album ensures that it remains a current reflection of your life and experiences.
Step 10: Preserve for Future Generations
Finally, think about the longevity of your memories photo album. Use acid-free paper and archival-quality materials for physical albums to prevent deterioration over time. For digital albums, periodically check and migrate them to newer storage devices to avoid technological obsolescence.
By following these steps, you can create a well-organized and cherished memories photo album that tells the story of your life in a meaningful way. Whether it’s a physical album passed down through generations or a digital album shared with friends and family worldwide, your memories will be preserved for years to come. Happy organizing!